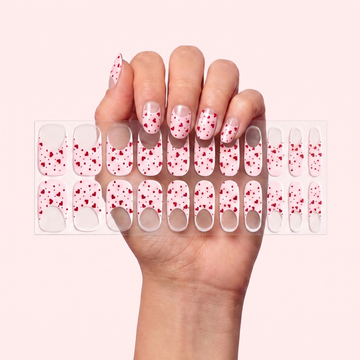
YOUR BEST MANICURE STARTS HERE

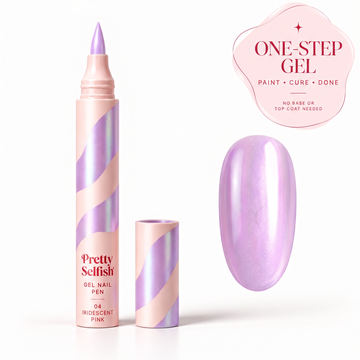
HOW TO USE GEL NAIL PENS

Learn how to use your Gel Nail Pens for an easy, precise, salon-style manicure at home. Simply prep, paint, cure and seal for glossy gel nails without the mess of traditional polish.

1

PREP YOUR NAILS

Start with clean, dry nails. Shape the free edge and gently push back your cuticles. Finish by wiping each nail with a cleaning pad to remove any oil, dust and residue.

Pretty tip

Avoid hand cream and cuticle oil for at least one hour before application.

2

PAINT WITH YOUR GEL PEN

Remove the cap and twist the bottom of your Gel Nail Pen until the gel reaches the brush tip. Apply a thin, even layer from the base of your nail toward the tip.

Pretty tip

Start with less gel than you think you need. Thin layers give you more control and help prevent gel from touching your skin.

3

CURE UNDER THE UV LAMP

Once you're happy with the color, place your nails under the UV/LED Lamp and cure until the gel has fully hardened. Add another thin layer and cure again if you'd like more coverage.

Pretty tip

Paint and cure your thumbs separately so they can lie flat under the lamp for an even cure.

4

SEAL WITH TOP COAT

Apply a thin layer of Pretty Selfish UV Top Coat over each nail, making sure to cover the entire color. Cure once more under your UV/LED Lamp to seal and protect your manicure.

Pretty tip

Run a little Top Coat along the free edge of your nail to help seal the manicure and reduce premature chipping.

Ready for your easiest manicure yet?

Shop all colours, finishes and nail art designs—or get everything you need in the Starter Kit.

GET YOUR GEL PEN NOW